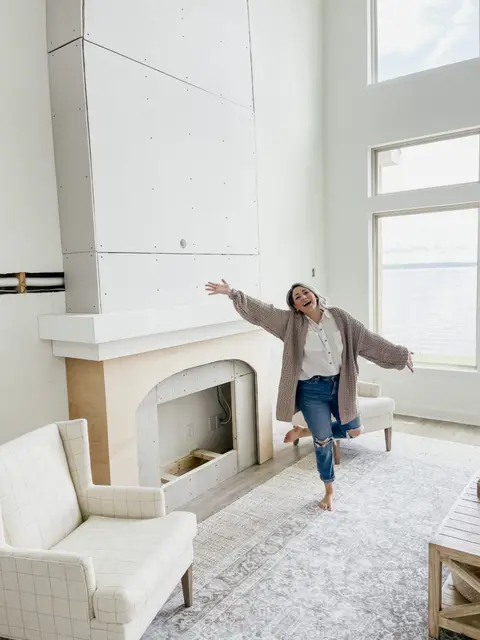

It’s DONE!!!!!! I am so happy I could cry. I actually almost did when Brett lit the fireplace last night and we stepped back and looked at it. Is there anything better than creating something with your own hands that you and your family will get to enjoy for years to come?
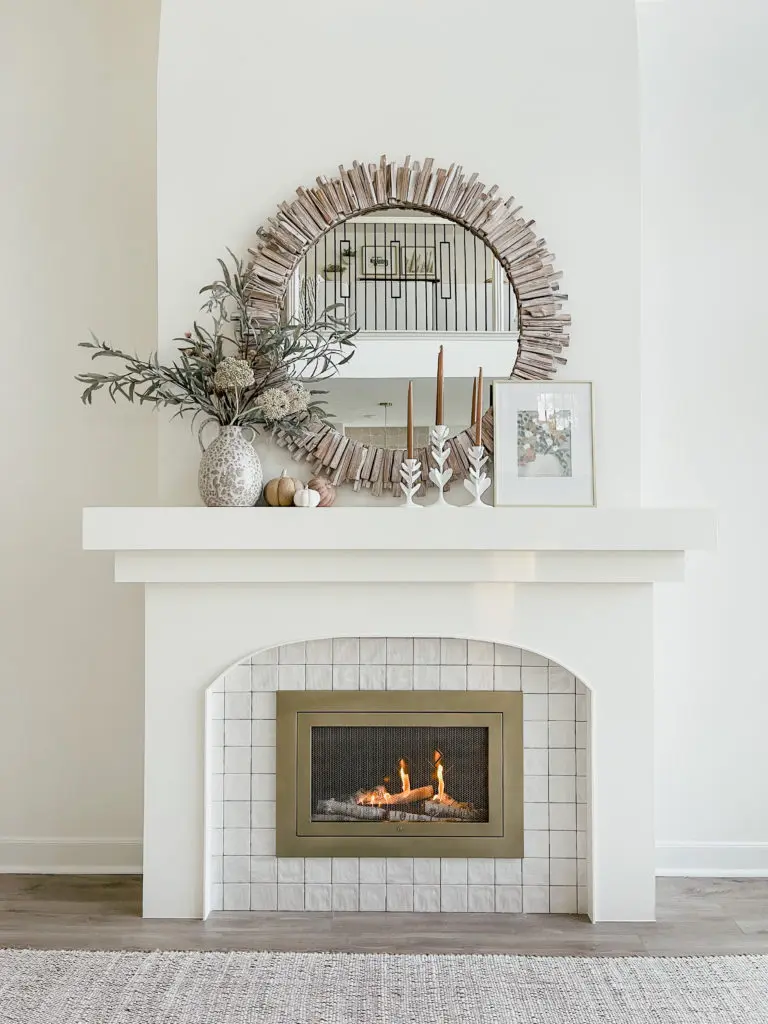
The insert is even more amazing in person than I imagined!!! It runs on alcohol gel cartridges so it is clean, unlike gas! You just put the cartridges in the insert and light them! When you are done you snuff them and seal them up! Each cartridge burns for a little over 2 hours and you can get replacements for $8 each!
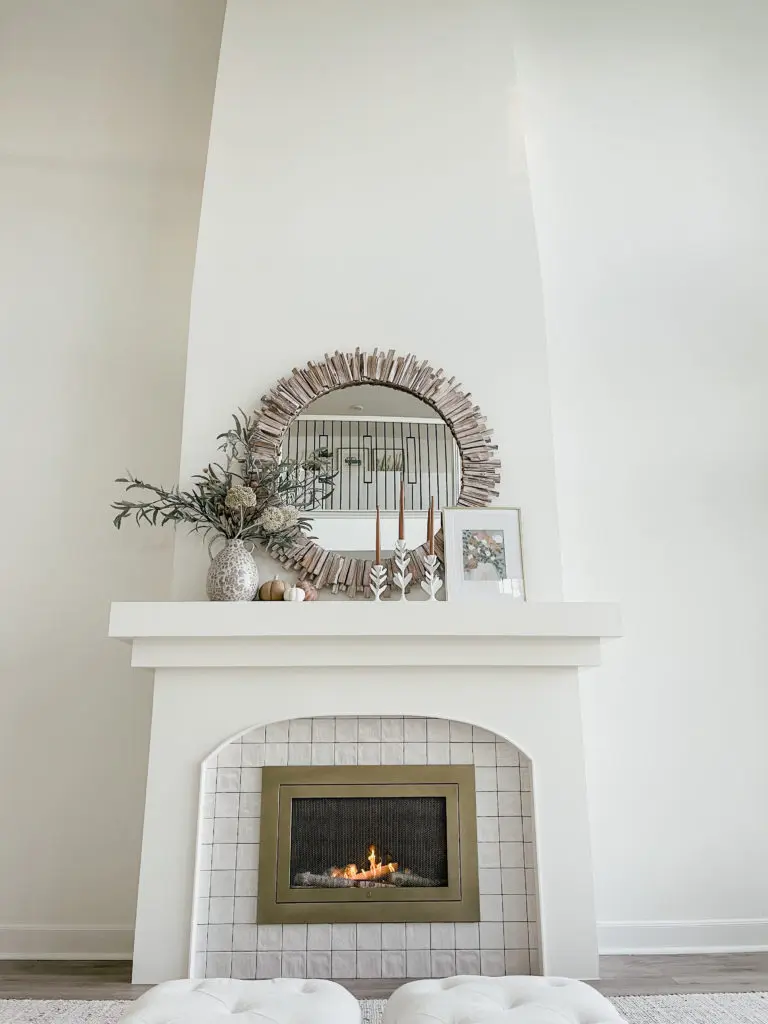
This is a great option for us since we live in Houston and don’t need the warmth that often! But it is a game changer from our previous electric fireplace (which we loved). You just can’t beat the ambiance of a real flame. Did I mention, it crackles!!!!
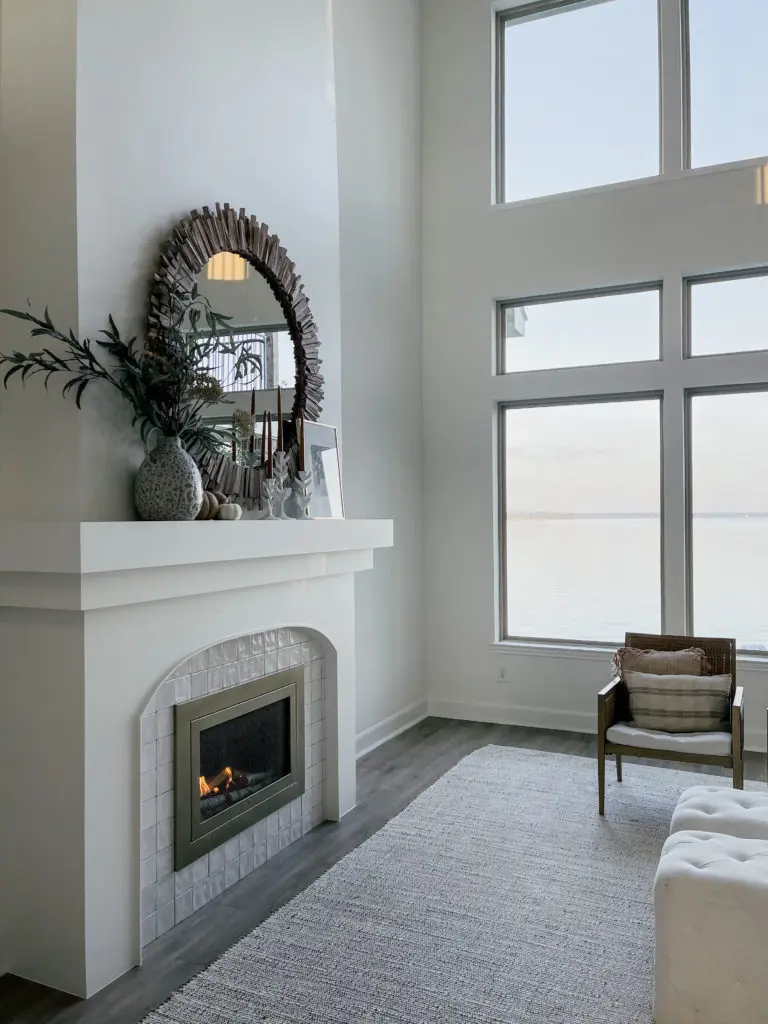
We went with a beautiful satin gold finish. Would you expect anything less from me!? The inside has black matte herringbone tile and white birch logs!
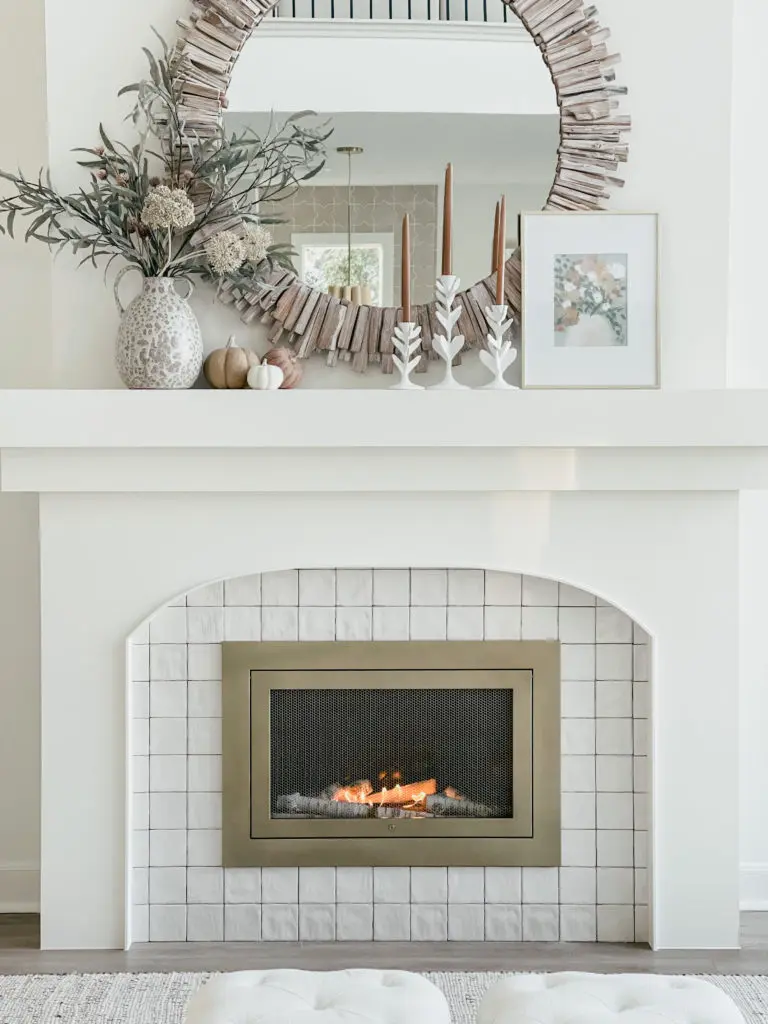
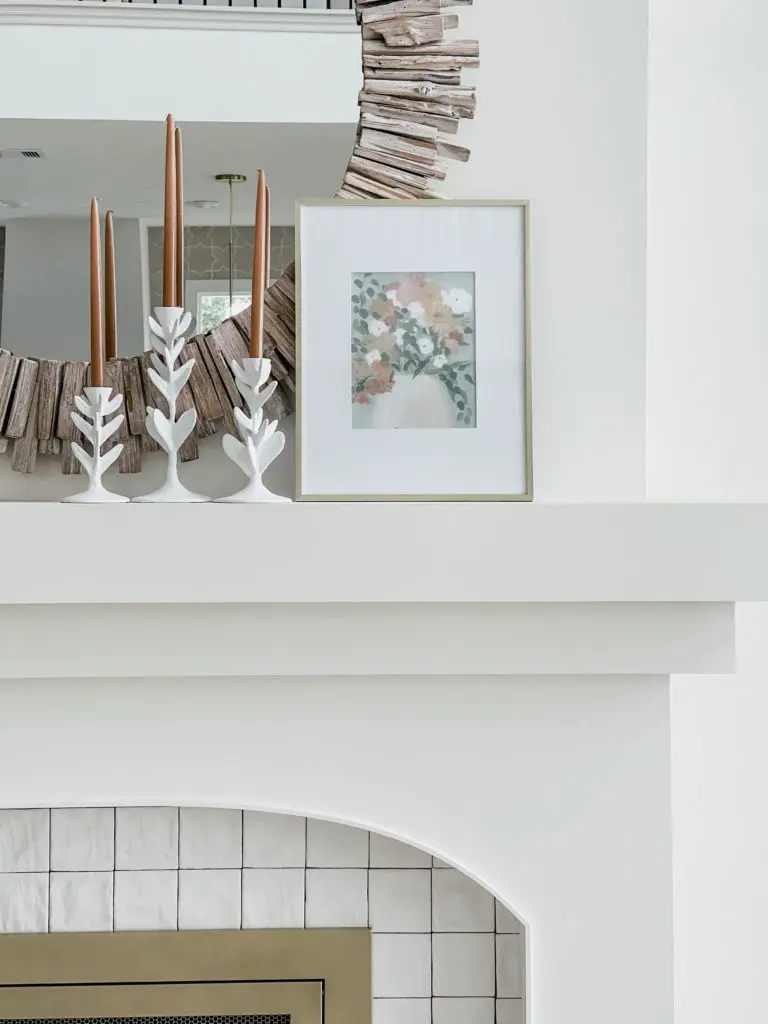
The beautiful art in this photo was inspired by The Blooming Nest and painted by Sarah Kaitlin!
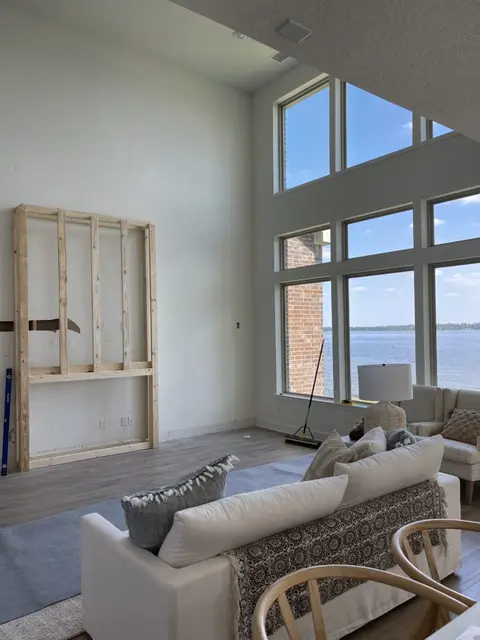
If you’re interested in more of the building process, read part 1 HERE, and part 2 HERE!
Scroll & Shop!
Love this? Save it for later
Some links in this post may be affiliate links. If you buy through one, Blooming Nest may earn a commission at no extra cost to you.
Leave a comment
Thank you! Your comment will appear once it's approved.
Free printable gift tags
Join my newsletter and download my teacher and everyday gift tags right away. You'll also get what's new on the blog and the things I'm loving.
Unsubscribe any time. Privacy